

The eyes are one of the most important parts of a mini. They’re one of the things that we look at first, and they’re one of the best places where emotion can be conveyed. They can also be very frustrating and drive painters crazy. Here are my suggestions for keeping your sanity and painting nice eyes.

STEP ONE
When painting eyes, I’ve always found that it works best to paint them after finishing the rest of the face. It’s always a good idea to keep the colors you used for the face on hand in case the eyes don’t go so well, and you have to start over.
STEP TWO
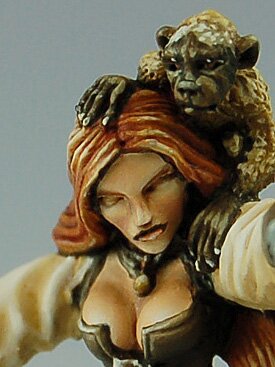
The basic shape of the eye is blocked in with a black line. For a more natural effect, you can mix a little brown into the black. However, since the eyes are one of the focal points of the mini, I like to emphasize them by using true black. I’ve also painted the eyebrows black. This isn’t very natural either, but having dark eyebrows makes the face more expressive.

STEP THREE
A white line is then painted inside the black line. The goal here is to have a black outline all the way around. This defines the shape of the eye, which helps them remain distinct even at arm’s length. You’ll notice that the left eye is a little sloppy. Fortunately it’s a little sloppy in the very center, which will be painted over in the next step.
STEP FOUR
A black dot is painted over the white stripe. Luckily for me this covers up the irregularity underneath. You can vary the size of this black dot. Although you should not try for a perfect circle, since that will make the mini look overly caffeinated. If you make the black dot very large, that will give you more room to paint in highlights and add some color. It will also make the miniature look slightly more cartoony. Somewhere in the middle is good; it just depends on your personal preference.
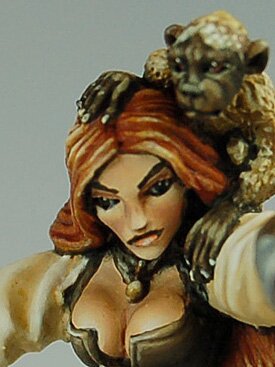
STEP FIVE
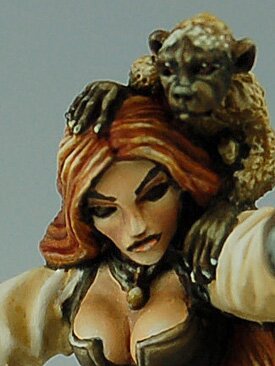
A single white highlight spot is added to the black dot. The single white highlight makes the eye look like it is looking in a particular direction, as well as indicating that it is a shiny surface. This is a perfectly respectable place to declare the eyes finished. If you look through my gallery, you’ll notice that I painted eyes this way for a very
long time.
STEP SIX
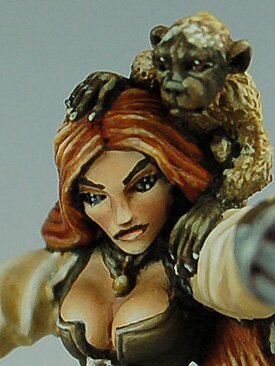
If you’d like to go a little further and go for show-stopping eyes, the next step is to add another white dot at the bottom of your black circle. A dot of color will be painted over this white spot. Since it needs to be very bright, it’s best to have it over white instead of black. The theory here is that that you’re painting the eye to resemble a
tiny gem.
STEP SEVEN
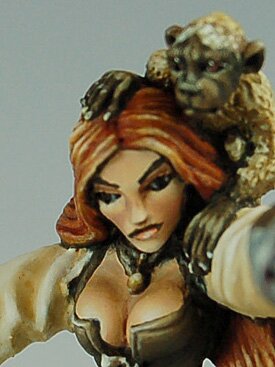
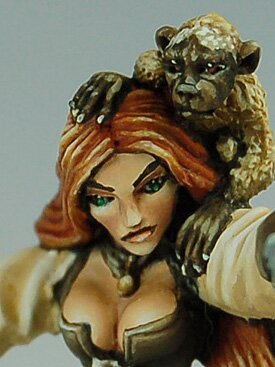
Add a dot of color. Since the color is such a small dot, you really want it to stand out, so use the brightest colors you have for this. I added some green pigment in the form of Reaper’s Clear Green to my paint. Inks are great for brightening the paint too. Also, when I’m painting brown eyes, I don’t use a proper brown, as it tends to get lost. I use Ochre Brown (Vallejo Model Color) since it’s a nice vivid orange. You can see an example on Lord Jester.
This article is © Marike Reimer 2007 and may not be reproduced or published without permission.